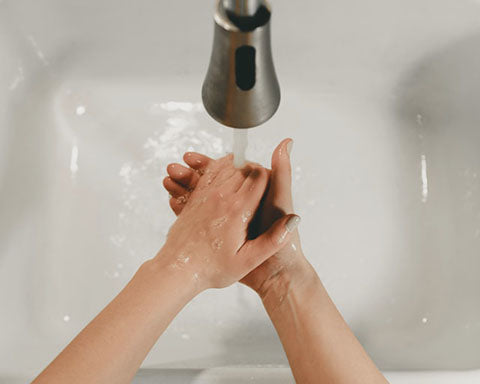
If you've ever unscrewed the end of a bathroom faucet or kitchen faucet or felt its inside parts with a finger, you might have discovered this small device, featuring a plastic or metal screen disc, referred to as the faucet aerator. The aerator is quite essential in a faucet system in that it enhances both the physical operation and the user experience when the faucet is in use.
Even though not all faucet systems will have an aerator, it is definitely a plus if yours has one. It allows water to flow in a controlled and steady stream, without splashing to the sides. Besides, it helps in water conservation by limiting the flow of water. In this article, we will highlight other aerator functions, problems, how to clean and replace a faulty one. So, let's get started.
Know Your Faucet Aerator
Faucet aerators were first incorporated into faucet systems in the late 1940s as additional devices to help reduce splashing water and oxygenate the water. Today, faucets are a standard appliance in most bathroom and kitchen faucets. Nonetheless, if your faucet lacks an aerator, you can buy separate faucet aerators and install them.
Most faucet aerators are bought already assembled; you only need to screw them onto the faucet's end. Because most aerators come in exposed male threads, the faucet should have female threads, common in kitchen faucets. As for bathroom faucets, especially the designer types, they likely feature female threads and only accept aerators with male threads.
Whether your faucet features male or female threads, you remove it by unscrewing. By doing so, you can separate it into individual parts. These include the outer metal/plastic casing, inner plastic housing, the screen bushing-fits into the hosing's opening and keeps the screen in check, and the washer.
Aside from these components, the aerator also contains two extra parts; the mixer and flow restrictor. The mixer buffers the flow of water through several holes to prevent damage to the screen. On the other hand, the flow restrictor limits the water flow. Typically, the faucet functions to enhance the water flow, and give you a softer feel by introducing the air bubbles. It might also serve to filter sediments.

How to Clean an Aerator
One of the main problems with faucet aerators is they collect mineral deposits and block, thus reducing water flow from the faucet and disturbing the water stream. Unfortunately, most people will confuse a clogged aerator for problems in the water pipes and faucet. Cleaning the aerator should be done at least twice a year.
Why hire a plumber while you can quickly restore the flow of water with only some pliers, rag, distilled vinegar, and a bowl? In case you realize your faucet is releasing less water than recommended, the first thing to check should be the aerator for cleaning. The hard sediments and mineral deposits collect on the screen and continuously cause clogging. Cleaning an aerator should be done is quick and easy. Follow the following step-by-step guide.
- Turn off water flow to the faucet.
- Wrapping the aerator with a rag, grip it using pliers, and loosen it by turning it anticlockwise. After if turns freely, unscrew and remove it using your fingers.
- Soak aerator in distilled vinegar overnight or at least an hour.
- Reassemble the washer and aerator into the faucet. Make sure to tighten the threads to prevent leaking water.
Hot to Replace or Install the Faucet Aerator
If you have a damaged aerator, you’ll need to replace it. When picking a replacement, make sure you measure the faucet to get an aerator that fits correctly. Aerators come in metric and standard sizes. Your best bet is carrying the old faucet with you to the hardware store, and get a replica. If you are installing it for the first time, you can take a picture and some diameter measurements to help you get the right pick. Using groove or tongue pliers, and a towel, you can get the fixing job done.
- Using the towel, clean the faucet’s inside thread.
- Make sure the aerator is assembled completely. It should have the washer to prevent leakage.
- Fix the aerator into the faucet’s end, and screw it firmly.
- Wrap the towel around the aerator and tighten using the wrench.
- Test by turning on the water to the maximum.
Summing up, above all you need to know about the faucet aerator, from its components, and maintenance to replacement. Since aerators are not that expensive, replacing won’t cost you that much. But if only one component, such as the screen, is damaged, you can save money by replacing only that. Follow the above guidelines, but if you feel you are not up to the task, you can call in a professional plumber.


