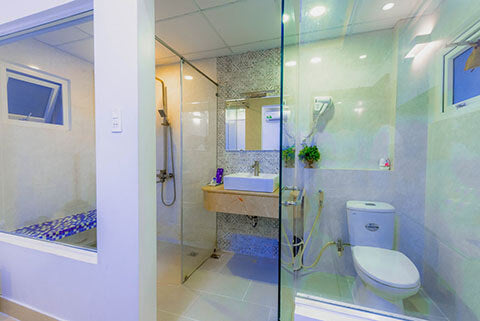
A leaky showerhead or shower faucet can be quite annoying. Aside from making continuous, frustrating noise, these faulty showerhead wastes a lot of heat and water, thus increasing your utility bill. Moreover, the dripping of a leaky shower faucet for a long time can cause dumpiness in your bathroom wall due to destructive dry rot or mold.
Single-handle shower valves use cylindrical devices, which use O-rings to control the rate of water flow. A leaky shower head is probably due to damaged calves or shower faucets. Also, the faucet’s parts may either be clogged or damaged by mineral deposits from water. In additionn, the O-rings and washers, might be worn out or old, hence requiring repair.
You can solve these problems by replacing the old showerhead with a new unit, which is the most straightforward way. To steer you in the right direction, let us discuss the steps to follow in fixing the leaky single handle shower faucet.
Steps to follow
When fixing your shower faucet, you need to use the least possible time as your home might require water in other rooms. To do this quickly and efficiently, you will need to have to arm yourself with the necessary instructions and tools.
Some of the tools you will require are a rag, cartridge extractor, Phillips screwdriver, needle-nose pliers, utility knife, Allen wrench, replacement gaskets and O-rings, white vinegar, and a Flat-head screwdriver. Read on for the instructions.

Step 1.
It would be best if you cut off the water supply to the showerhead, by closing the main water supply valve to your home or the mainline supplying water to your bathroom. Before disassembling the faucet, open it to ease the water pressure.
Step 2.
Locate the screw that connects the faucet cartridge to the handle. You will either find it beneath or behind the faucet lever. If you have trouble locating one, check it under the cap, though you should check closely because the cap is not easily noticeable. With the use of a screwdriver, locate the faucet’s front and use it to remove the cap.
Step 3.
Remove the screw holding the handle using an Allen wrench or Phillips screwdriver. Slide the handle. If your faucet has a temperature-regulator disk, pull it off.
Step 4.
Use a needle-nose or adjustable pliers to remove the retaining pin holding the faucet’s cartridge- it all depends on your faucet's design. It would be best if you wrapped the collar with a rag before you unscrew it to avoid damaging its finish.
Step 5.
Hold the valve cartridge using some pliers and pull it out. Before pulling the cartridge out, picture its orientation so that you do not experience difficulties reinstalling it to its original position. The cartridge is designed in a way to make it easy to remove. However, an old shower faucet’s O-rings might have jointed with the valve housing, making it hard to remove. In such cases, use a cartridge extractor that is specially recommended by your faucet manufacturer.
Step 6.
Inspect the extracted cartridge carefully. If it is filled with mineral deposits, leave it overnight to soak in a white vinegar solution. These deposits might be sealing water resulting in the leakages. For a cracked or pitted valve cartridge, get a new one.
Step 7.
Use the utility knife to cut off the old O-rings of the faucet cartridge and replace them. The new washers should be greased for easier re-installation.
Step 8.
Using a flat screwdriver, remove the rubber gaskets off the valve’s seat inside the valve housing. Get new ones and install them.
Step 9.
Re-assemble the cartridge and replace the screwing or pin on its collar. Reset the temperature regulator and get a new cap and handle. After reinstalling it, turn on the water supply and check if there are any leaks.
To sum up, there is a step-by-step guideline on how to go about repairing a leaky single handle shower faucet efficiently. We hope that this article helps you resolve your problems with ease. Suppose you realize that faucet is still leaking, avoid over-tightening as it can damage the valve, leading to further problems. The best action to take is to outsource the services of a qualified plumber.


