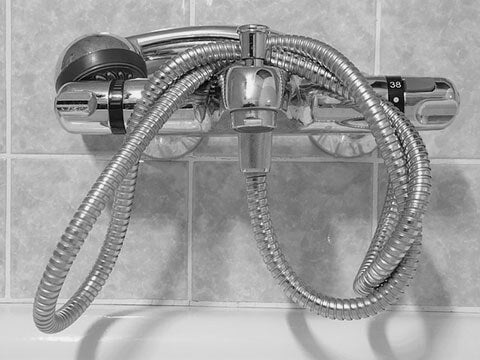
A leaking shower head is not only annoying; it can also ruin your budget by the end of the month, especially if the leak is as a result of failure in the hot water faucet. While some leaks require professional attention, others don't. For this reason, you may want to know what you can do to fix shower leaks that are not super complicated.
When fixing the leak, keep in mind that the ideal solution in your case will largely depend on the issue causing the leak. As such, you can benefit from carefully diagnosing the system and ruling out the suspected causes for the leak before getting your tools out.
Reasons behind a leaking shower head
Leaks in your bathroom can be as a result of the shower head alone, or one or more components of the shower faucet. For a quicker diagnosis, here are two main key points to consider:
If your shower head leaks even with the faucet turned off, there may be a proble with the shower faucet. Depending on how long the issue has persisted, however, it can also be an issue with the shower head.
If the shower head leaks for a while after shutting off the faucet, and then stops completely, you most likely are dealing with an issue in the shower head alone.

Common fixes for a leaking shower head
While solutions for a leaking shower head vary depending on the issue causing the leaks, the following are the most common solutions for fixing shower leaks.
- Unclogging the shower head
- Installing a new diverter valve
- Replacing the worn washers in your bathroom
- Replacing the problem catridge valve
Before starting your repair project, it's highly recommended that you shut off the water supply to your bathroom to avoid distractions. If you don't have an indipendent valve that stops water supply to the bathroom, you may have to go with the valve that shuts off water supply to the whole house. Luckily, you can get professionals to install a seperate cutoff valve for your bathroom, so that you won't have to distract water supply to the whole house next time you want to work on a similar project.
Stopping the leaks
As mentioned above, there are some solutions that you can use to stop your shower head from leaking. Each one of them has been discussed further below, to make it easier for you to solve the problem in your shower successfully.
-
Unclogging the shower head
After using your shower for quite a long time, lime and other mineral deposits will accumulate to the point where they clog the showerhead holes. If this happens, you may note that water continues dripping from the shower head even after you shut off the faucet, but stops after some time.
To unclog the shower head, first remove it from the pipe holding it in place. Next, confirm that the pipe is not leaking without the shower head on it. If it's not leaking, inspect the shower head for clogging. If the holes are clogged with a white substance, dip the shower head in white vinegar and leave it there for a period of six to eight hours.
If your shower head allows you to take the front plate off, you can soak only the front plate after unscrewing it from the shower head. After soaking the showerhead, free the holes with a small pin or toothpick, then clean the faceplate with a brush. A removable faceplate should be easier to clean from the inside.
Before reconnecting the shower head, inspect it one more time to ensure that every part is intact, and that the washer in the back is not worn. In the case of a worn shower head washer, you will need a replacement.
-
Replacing the diverter valve
The diverter valve is the knob or lever that switches the direction of water from the faucet to the shower head. Depending on the brand of your shower system, the diverter valve may fail to appear as a lever or knob, and instead be attached to the faucet.
If your diverter valve is a knob or lever, all you have to do is remove the faucet handle and disassemble the valve setup to access the diverter valve. You should then inspect the diverter valve for wear, and replace it if necessary.
If your diverter valve is located on the faucet, you will have to disassemble the entire faucet or part of it to get to the diverter valve, which should look like a rod.
-
Replacing worn washers in the faucet
A worn washer O-ring can also be the reason why your shower head is leaking. In such a case, you will have to disassemble the shower faucet handle, then get to the stem to access the washer. For the best result, you may want to replace other washers and seals as you replace the rubber washer.
-
Replacing the problem cartridge
This valve can be found either in the arm handle that switches from cold to hot, or in the faucet. The main steps to follow may vary depending on the style of your faucet. However, these two basic steps won't change:
- i) Detach the faucet handle to access the cartridge valve
- ii) Remove the cartridge and replace it with an identical one.
In summary
Even though a leaking shower head can be a cause of concern to many homeowners, it's not always a serious issue. For this reason, you may want to attempt fixing your shower head using the solutions provided in this article before calling in an expert.
If the issue looks complicated or the water continues dripping even after trying the above solutions, it may be time to get assistance from a professional.


